
Congratulations on your new Extreme Wheel ES, one of the most capable high-performance electric motorcycles available today!
This comprehensive guide provides clear, step-by-step assembly instructions, expert tips, and best practices to ensure a safe, smooth, and reliable setup.
Following this guide ensures optimal performance and longevity from your Extreme Wheel ES electric motorcycle.
Inside the box, you should find:
Front tire 🛞
Charger 🔌
Tool kit 🧰 (2 box wrenches + 6 Allen keys)
Front & rear fenders 🛡️
Foot pegs
Suspension hardware
Screws and washers for fenders & seat
❗ If you’re missing any items, please contact us immediately and we’ll ship the missing parts.
What you'll need to complete assembly:
A table or work area -
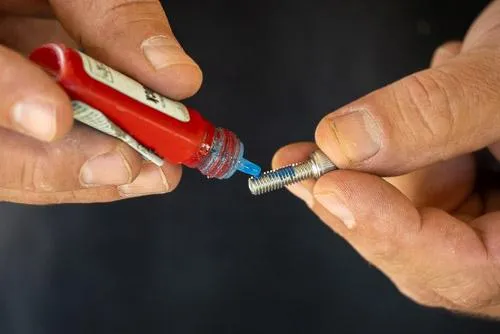
Blue Loctite threadlocker – prevents vibration-related loosening
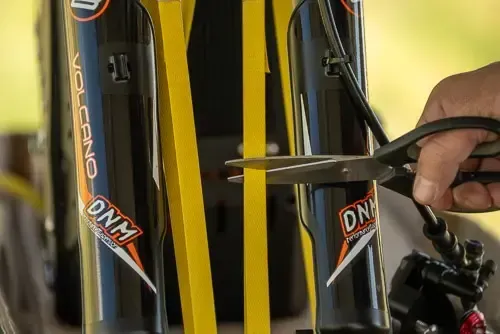
Scissors or utility knife – safely unpackaging without cable damage
Zip ties – tidy cable management
Pro Tip: Document your unboxing process to assist with potential warranty or support issues.
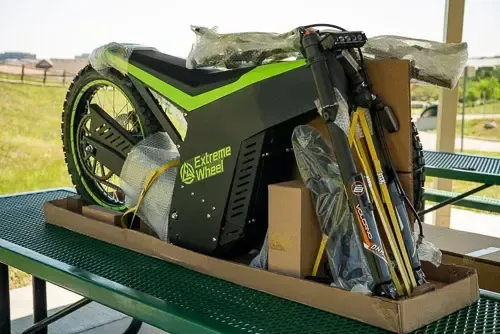
🛍️ Step 1: Unbox & Inspect
Carefully remove all strapping, zip ties, and protective plastic from the box. Remove the top cover and inspect all items inside.
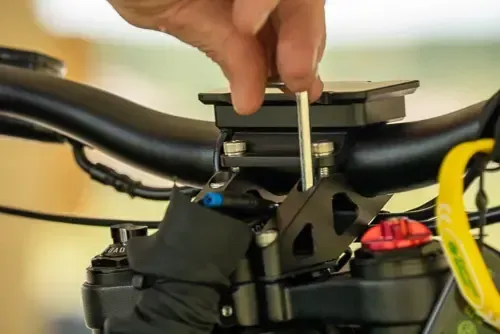
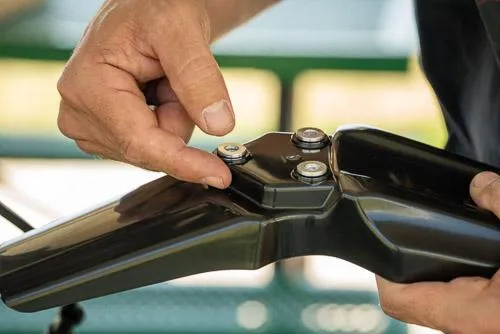
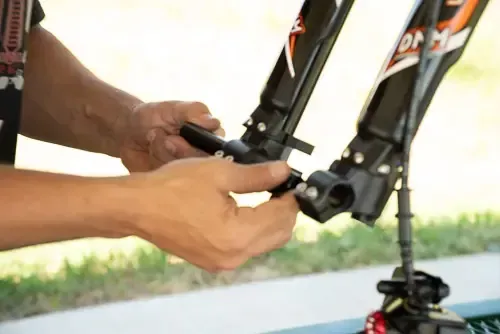
🔩 Step 2: Install Handlebars
Remove the four Allen bolts from the handlebar clamp. Add a drop of Loctite to each, then reinstall while routing cables carefully so no wires get pinched between the handlebar and frame.
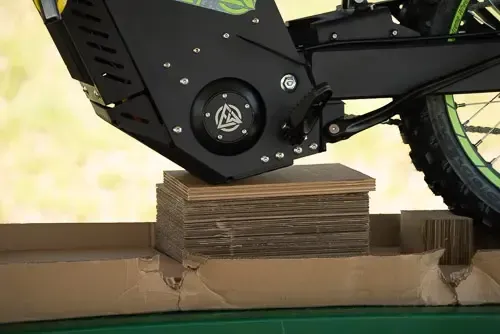
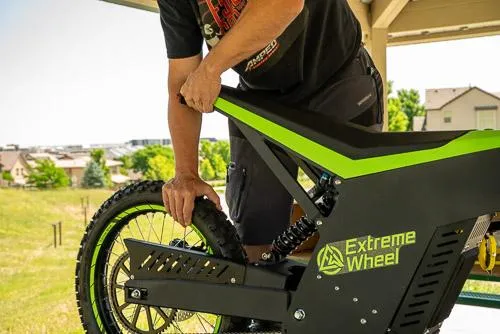
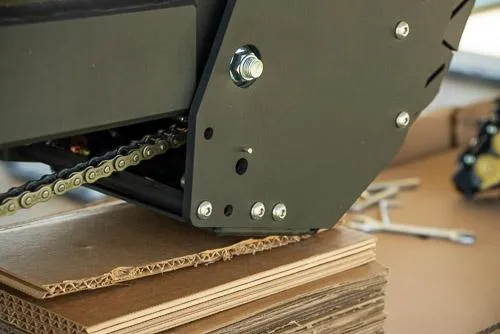
🪝 Step 3: Install Rear Suspension Pin
Use the cardboard box or foam from the packaging to elevate the bike. This aligns the suspension and swingarm.
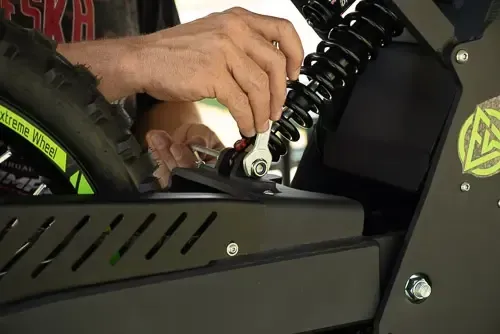
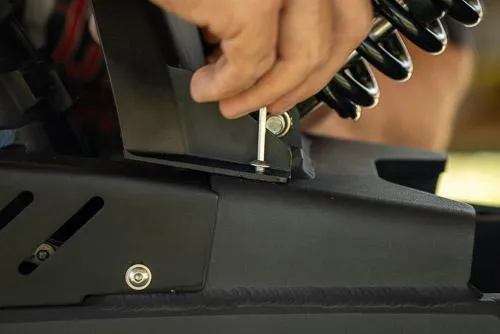
It helps to have a second person lift the seat while you push the pin through.
➡️ No Loctite needed — it uses a locking nut.
🚧 Step 4: Attach Rear Fender
Align the rear fender and secure it with one screw on each side using the included washers.
🛡️ Step 5: Attach Front Fender
Use the 3 screws and 3 washers included in the kit. Insert washers into the fender holes, then install screws from underneath.

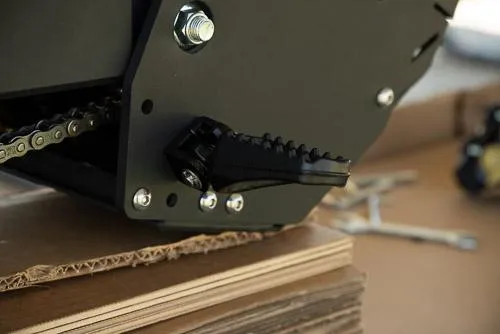
⚙️ Step 6: Install Right Foot Peg
Add Loctite to the threaded bolt, align the peg using the locating pin, and secure it from the inside using the included nut and wrench.
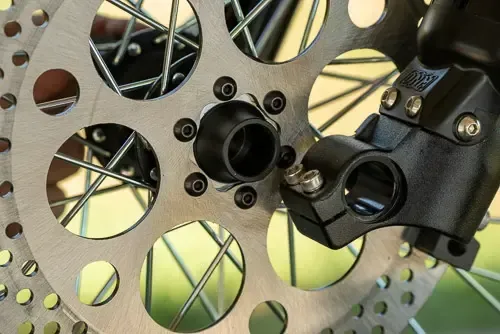
🛞 Step 7: Install Front Tire
Lift the bike using packaging to raise the front forks. Remove axle screws and pull out the axle.
✅ Position the tire so the rotor is on the left side.
Insert the axle, add the end cap (tapered end out), and tighten both sides.
🛠️ Maintenance Tip: Check axle bolt tightness regularly.
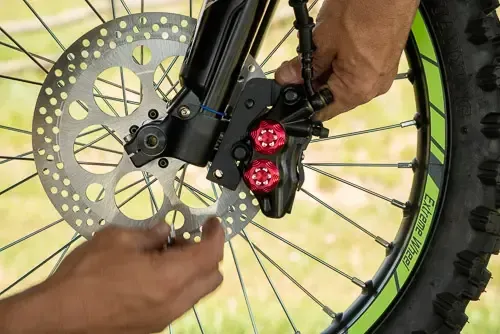
🛑 Step 8: Install Front Brake Caliper
Remove the spacer between brake pads
Slide caliper over the rotor
Apply Loctite to the bolts and tighten
This hardware is usually pre-installed in the caliper bracket.
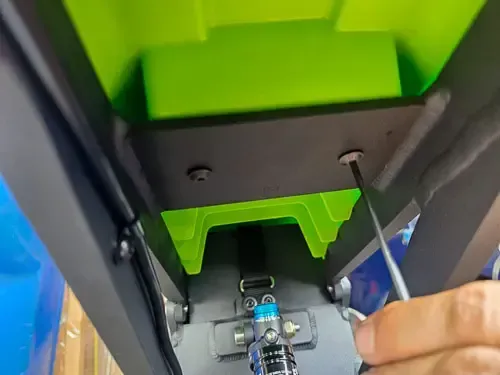
🔋 Step 9: Connect Battery & Install Seat
Remove any red tape on battery terminals
Plug in the battery until you hear a beep
Locate the 2 silver screws and secure the seat from underneath
✅ Step 10: Final Safety Check
Double-check all screws, especially:
Handlebar clamp
Brake caliper bolts
Axle bolts
Pegs and seat
Pro Tip: Check these again after your first few rides to ensure nothing has shifted.
🎥 Prefer to watch? Scroll to the top to follow along with our video assembly guide.
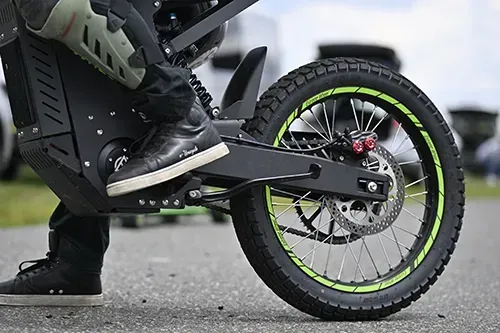
Startup Check: Use your NFC bracelet or card near the front seat sensor to power on the Extreme Wheel ES. The screen will light up and initialize the system.
You're now ready to ride!
Extreme Wheel ES Safety & Precautions
Prioritize safety during assembly and riding:
Always wear safety gear (helmet, gloves, boots, protective clothing).
Assemble in a clean, brightly lit workspace.
Carefully handle the battery, avoiding contact with water or conductive tools.
Regularly inspect your motorcycle for ongoing safety and performance.
Extreme Wheel ES Battery Charging & Maintenance
Extend battery life and performance:
Only use recommended chargers.
Avoid charging in extreme temperatures (below 32°F or above 100°F).
Regularly inspect terminals for corrosion.
Store with partial charge if unused for extended periods.
Extreme Wheel ES Troubleshooting FAQ
Quick solutions for common assembly and usage issues:
Display not turning on: Verify battery connections and NFC activation.
Wheel alignment problems: Recheck and adjust axle bolts carefully.
Brake rubbing: Re-center caliper, ensure proper tightening.
Loose parts: Re-tighten fasteners after the first ride using threadlocker.
Extreme Wheel ES Warranty & Customer Support
For assistance, warranty claims, or inquiries please contact your dealer.
Routine Maintenance for Your Extreme Wheel ES
Keep your electric motorcycle in top condition:
After first ride: Check and retighten critical bolts and fasteners.
Monthly: Inspect brakes, suspension, chain, and electrical components.
Every 6 months: Lubricate and thoroughly inspect moving parts.
Annually: Comprehensive inspection and replace worn components as necessary.


© Copyright 2026. All Rights Reserved.